Learn how to valet a car step by step
Car valeting is not just picking up a bucket and sponge or a quick vacuum of your car. Car valeting is very detailed and meticulous.
You need to know each step involved if you want to valet like a pro. If you want to learn how to valet a car, this guide will help you understand the stages involved. ]
What this article will not teach you is attention to detail. Most people who want to learn how to valet a car will do so for a specific reason they want to start a business etc.
If you are planning on starting your own valeting business you may want to take a look at our guide called how to start a mobile car valeting business. Its a mammoth article at over 5000 words! Otherwise if you are planning to valet your own car at home this article will still help – although you may not have all of the chemicals listed but you can substitute these in most cases.
The valet described is just a basic Full Valet and each stage has been used by myself for over 7 years of owning a mobile car valeting business.
Heres some good starter cleaning kits for Pro and DIY
A full valeting equipment list can be found HERE
Car Cleaning Chemicals for the pro’s
Personally, I love Autosmart products. I’ve tried many different brands in the past but I would always recommend Autosmart. Depending on where you are in the UK they will also deliver to you on site! Which not many suppliers do.
Autoglym is also readily available and just as good. The packs above provide all the products you need to give them a try. If you are happy, then I would suggest getting in touch with your local sales reps to purchase the 5l bottles because it works out cheaper.
How to valet a car – the Full Valet
How to valet a car exterior:
Firstly set-up your pressure washer and spend a couple of minutes power washing off heavy deposits of dirt and traffic film, this is just a quick wash to prepare for the next stage.
Spray TFR (traffic film remover) or other less harsh pre-washes from a pressurised chemical sprayer on to the bottom of the car – no higher than the car door window. Make sure you don’t spray on to rubber because the TFR will leave spot marks which are usually permanent.
Leave the TFR on for a couple of minutes whilst you spray your wheels with wheel cleaner.
Pre washing allow wheels
If the wheels are particularly dirty then you should use a high concentration of wheel cleaner and aggravate the dirt on the wheels with an alloy wheel brush.
Thick, burnt on brake dust just doesn’t come off in normal pre-washes so aggravating it before will help the next stages.
Do not use wheel acid on chrome alloy wheels and be particularly careful on alloy wheels with minor damage. Use a lower concentrate to start with and increase as required.
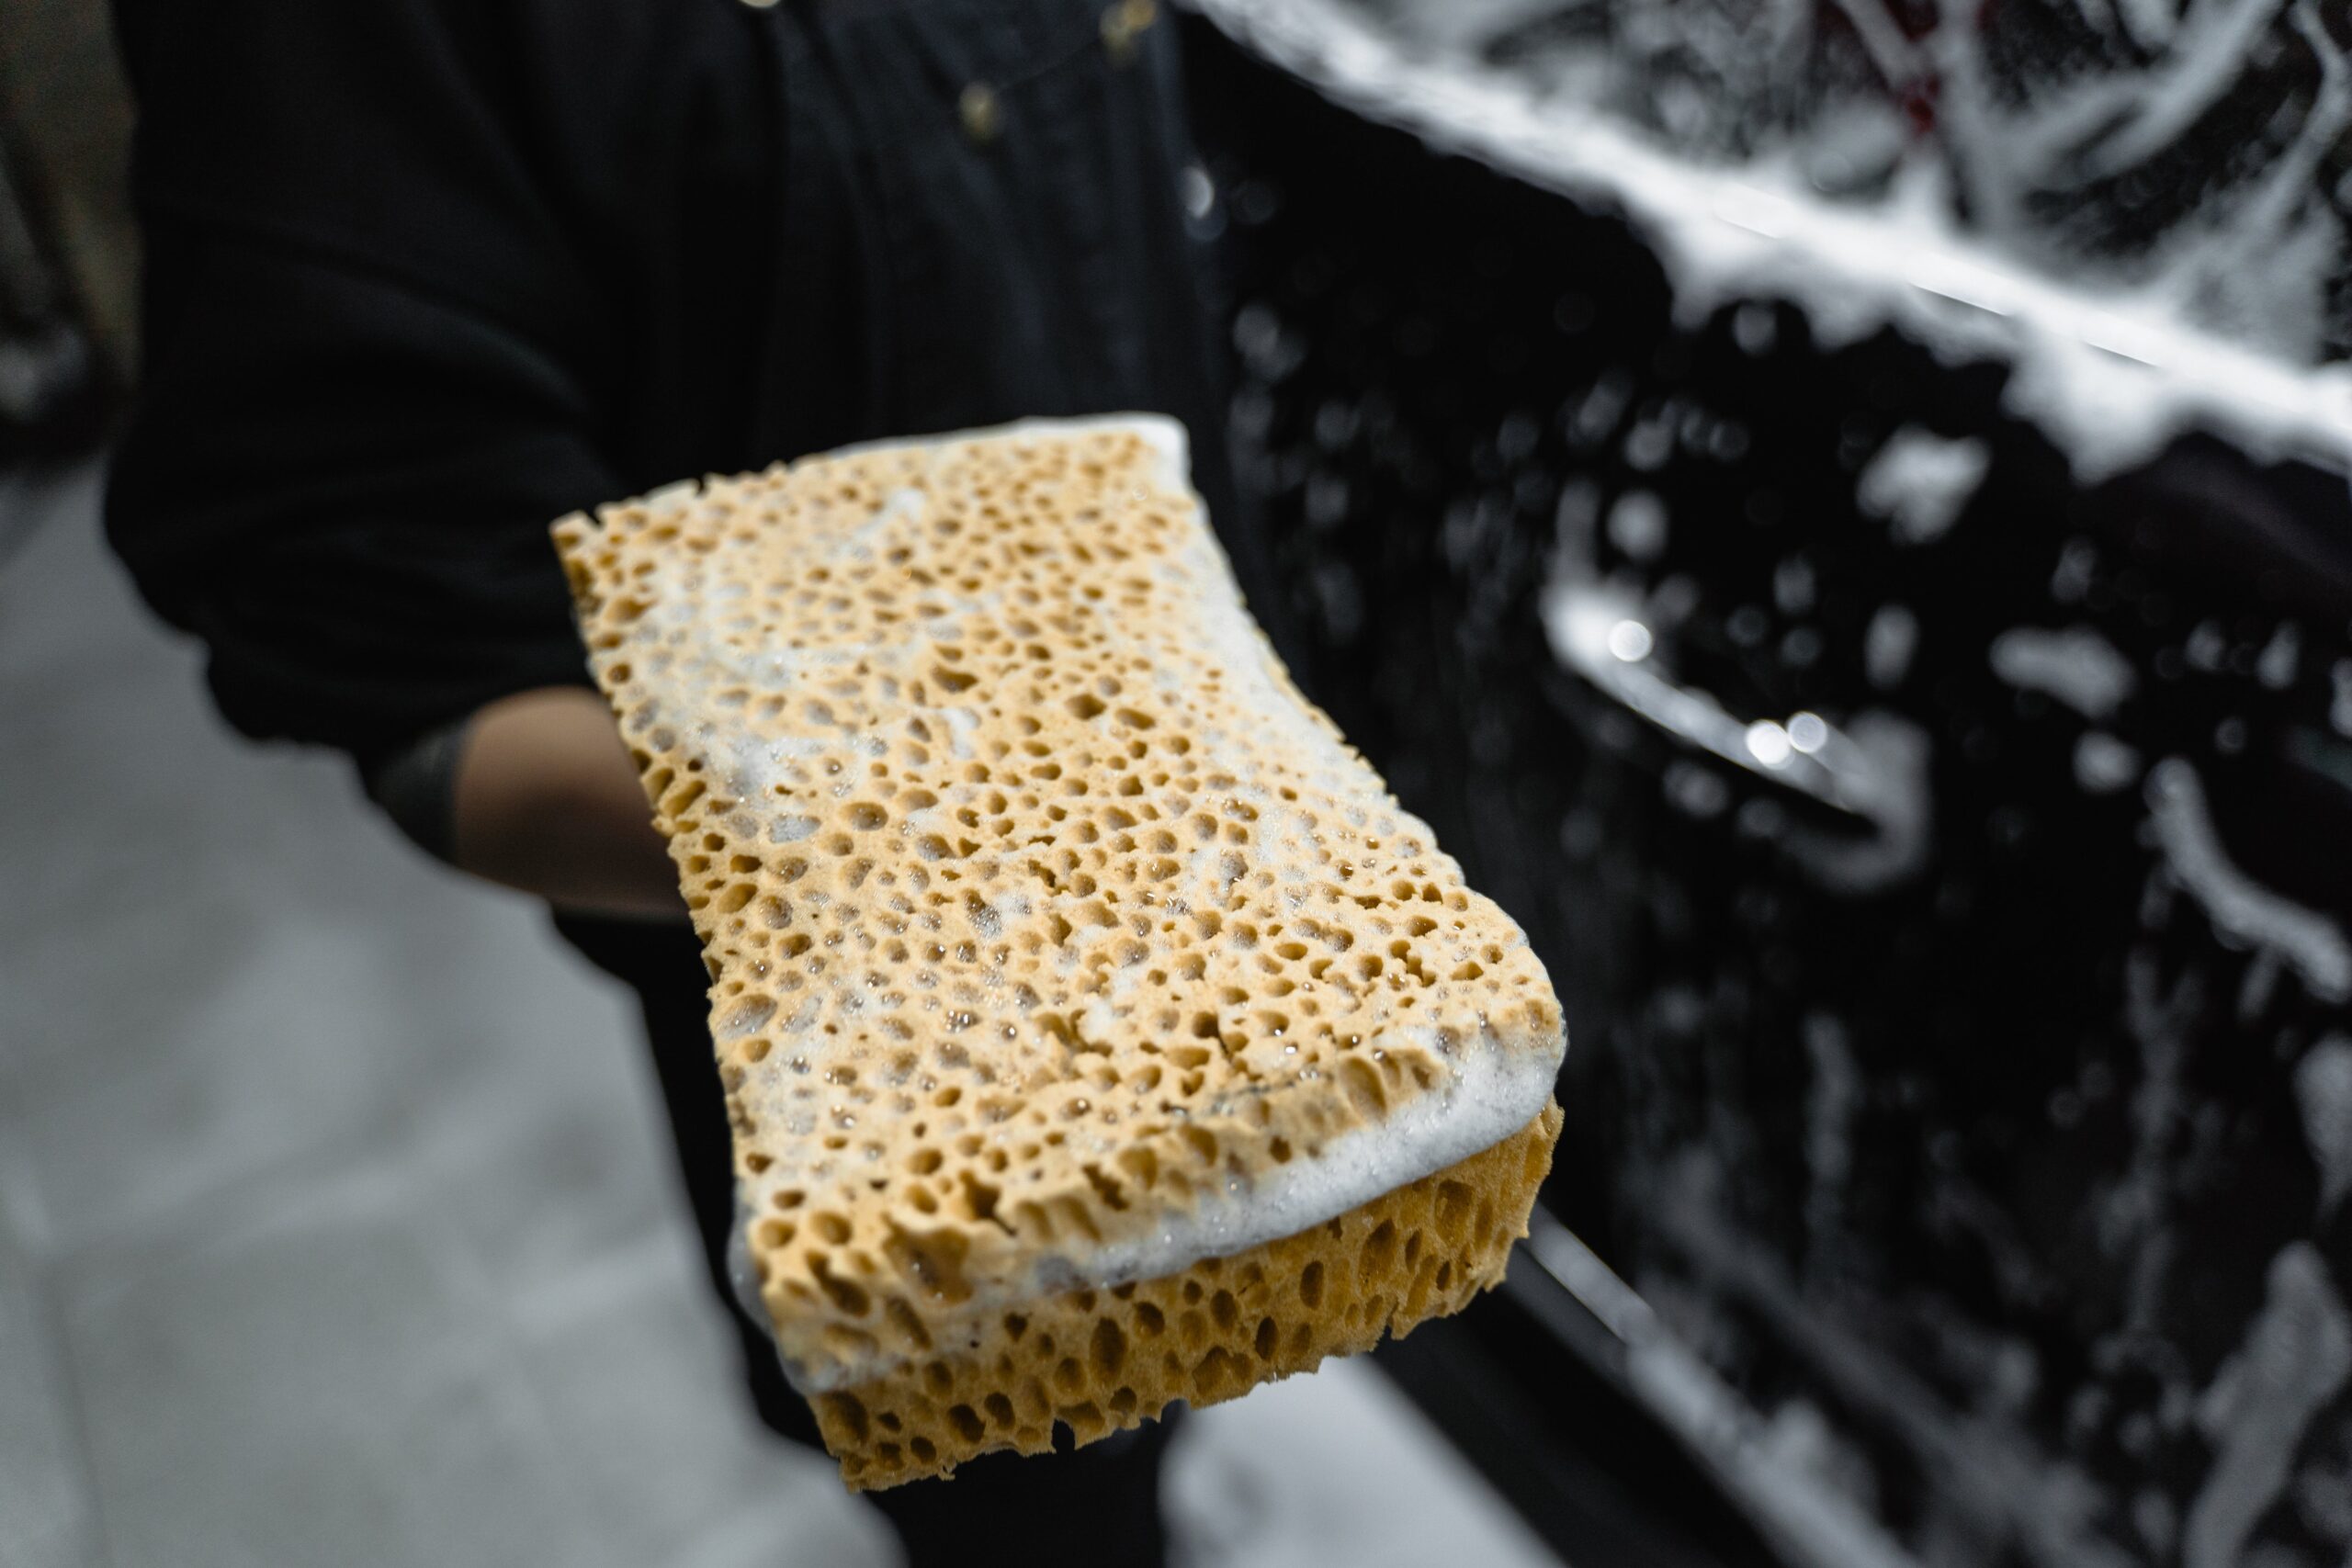
Wash the car off
Wash off the whole car starting from the top and working your way down so dirt is directed off the car to the ground.
Pay particular attention to the seals, gaps in doors, wheel arches, petrol filler cap and flies on the front bumper and wing mirrors. Some valeters never seem to get this bit right but it’s really important.
Towel / chamois dry
Pay attention to the gaps in the bodywork where water can dwell e.g. wing mirrors and lights. Now Go over the car with original t-cut.
You are looking for fine scratches around the handles, sills and bodywork. Just rub on with a polish cloth to be polished over later. *Tip: Taking a couple of minutes removing scratches around the handles could be the reason customers refer you to their friends or call again.
People assume that removing scratches is an expensive task but it takes just minutes to do. Other valeting companies wouldn’t usually do this for a full valet so why not impress.
Spray tar and glue remover onto door sills and around the wheel arches to remove tar (small black specks of tar) on bodywork. Wipe off with a microfibre.
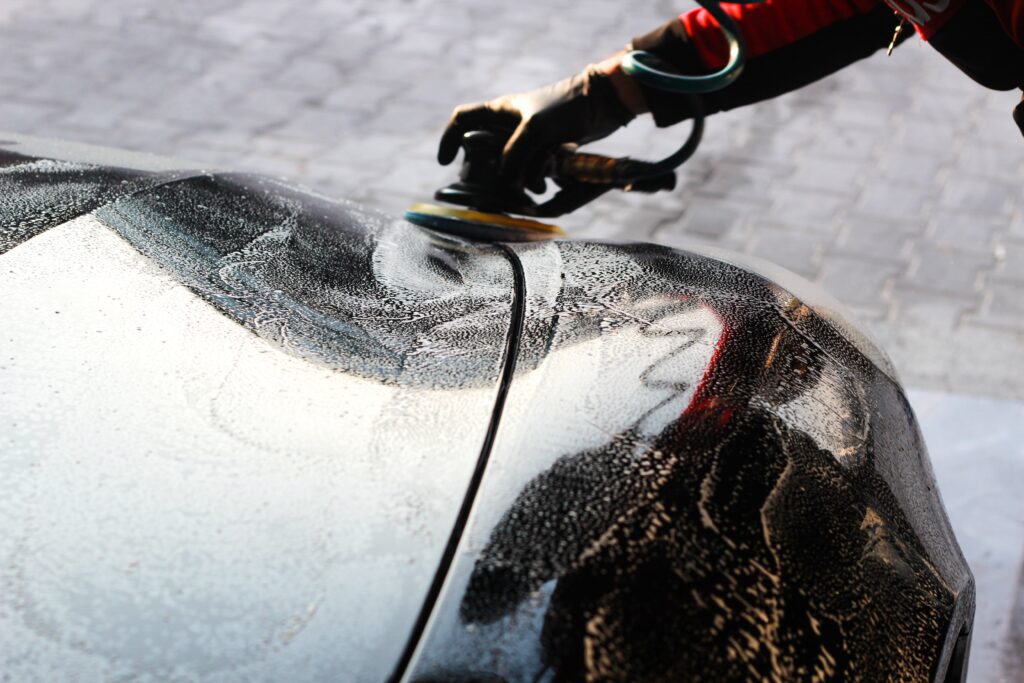
Polishing your car
Apply small amount of polish to your polishing sponge/cloth and apply in a circular motion, make sure you apply evenly and reach the entire paint surface as missed areas can look dull in comparison.
*Tip: Keep the polish on to avoid oily spray back from the tyre shine going on to the bodywork.
Leave the polish on whilst you hand clean the alloy wheels with a cloth.
It’s usually a good idea to get most of the dirt off with a dirty cloth then go over each wheel with a clean cloth to avoid streaking.
Exterior plastic / rubber
Treat all the outside plastics/rubbers, even window wipers with bumper shine. Spray the tyres and arches with tyre shine and use a dirty cloth to go around the arches and wipe the excess tyre slick away to leave a clean matt wheel arch.
To finish off the outside – remove the polish with a clean microfibre cloth. If the drying hasn’t quite gone to plan you may have a damp microfibre cloth, this will leave streaks so leave that to dry off and get another one.
How to valet a car Interior:
Firstly use the interior brushes to get into nicks and crannies to remove dirt or dust in air vents and between buttons in the centre console.
Remove the car foot mats and fully vacuum the car including the boot. Use the vac now to remove any leaves stuck at the top of the boot sill.
Use a multi-purpose cleaner (I have used AUTOSMARTS G101) to clean the interior plastics including door pockets, centre consoles and the fabric on door cards, also clean foot well carpets at this time.
You should start at the passengers side and work your way round counterclockwise – this is because the drivers side is usually the dirtiest so your cloths are too dirty afterwards to clean the rest of the car.
Interior hard surfaces / plastic
To clean the plastics just spray on the multi-purpose cleaner all over the area you intend on cleaning (section by section is easiest, I find starting from the top and working my way down works best).
Scrub with a hard bristled INTERIOR valeting brush and wipe away with a clean microfibre cloth. For cleaning interior carpets spray with interior cleaner or carpet shampoo if preferred.
Now scrub with an brush carpet/interior brush. Once you have done that whole area, you can then move to the next area I.e. rear seats and so on, making your way around the whole car.
Tip: Use a different brush for the interior plastics and carpets, this is because your carpet brush will no doubt be filthy. You don’t want to try and clean your interior plastics with a filthy brush.
Another Tip: always clean your microfibre cloth with water each time you clean a section of the interior, this will make for a cleaner interior. Use your pressure washer to clean your interior cloth. Put the cloth onto a hard surface first. Clean your brushes at the same time.
I usually clean mine 4-5 times every time a clean any interior. Remember to pull your front seats backwards when cleaning the front, and forwards when cleaning the back.
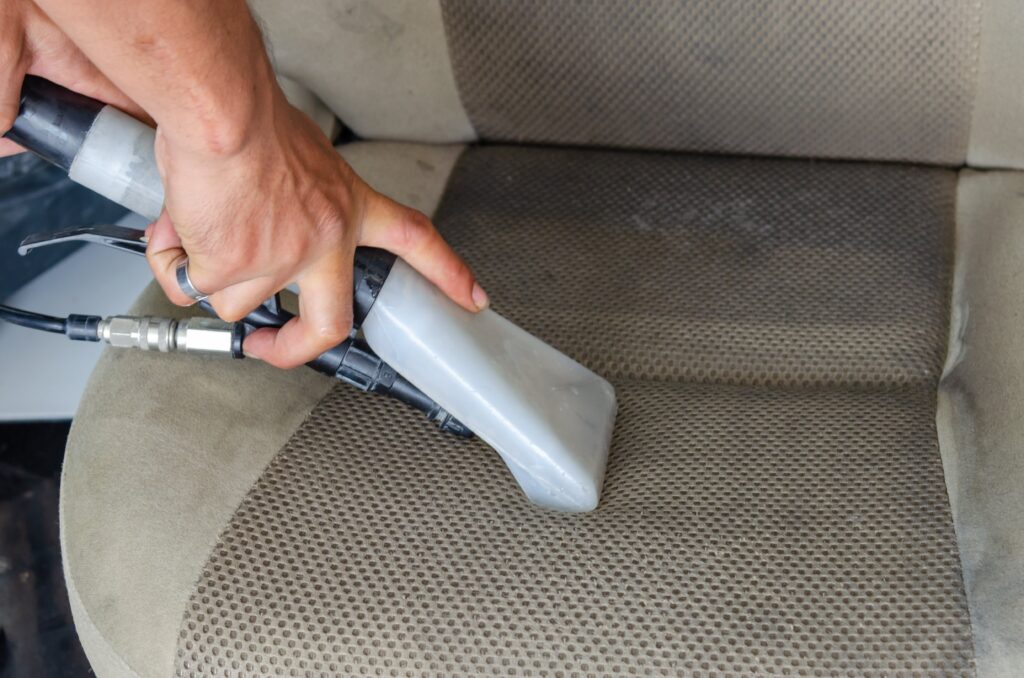
How to shampoo car seats
Then use your wet-vac machine to clean the seats. Spray the material with a fabric shampoo, scrub with a brush all over the seats then use your wet vac to suck up all the dirt left in the seats. Use the extraction whenever necessary.
Leather can be cleaned with leather cleaner – simply apply as required and wipe away. Clean the door shuts, these should be sprayed with multi purpose cleaner and wiped down. They may haze over but don’t worry as we will fix later.
Vac the entire car again. Ensure the interior in vacuumed thoroughly without leaving any bits of grit or dirt. Make sure to vac in the cracks of the centre console, in-between buttons etc and down the sides of each seat. Lift up rear seats if possible to fully remove all dirt.
Applying plastic dressing
Apply a matt plastic dressing – spray on and wipe into the interior plastics ensuring no over spray is left. Wipe over the door shuts which will leave a very nice shine making a huge difference to the interior appearance.
Finishing touches
Then using a clean microfibre cloth, wipe over and dry your centre console, steering wheel including indicators, door handles and anywhere else which looks streaky. This will leave the car interior looking clean and non greasy.
I will now use a silicone dash spray around the door shuts, centre console, gear knobs etc. Always leave the windows as the very last thing to be cleaned, this is because the chemicals and sprays which you use will come into contact with the windows and leave them smeared.
Cleaning the windows
Now go around the car with window cleaner – cleaning each window. I usually start at the passenger side and work my way around. Just one spray will do, do not over apply as this can also leave the windows with streaks.
Wipe on with one cloth and buff up the windows with a clean microfibre cloth. Apply paper floor mats and protective seat covers if required.
Check the car exterior and buff up as required around the outside of the car and your are finished. Follow this step by step and you too can provide a brilliant service time after time.